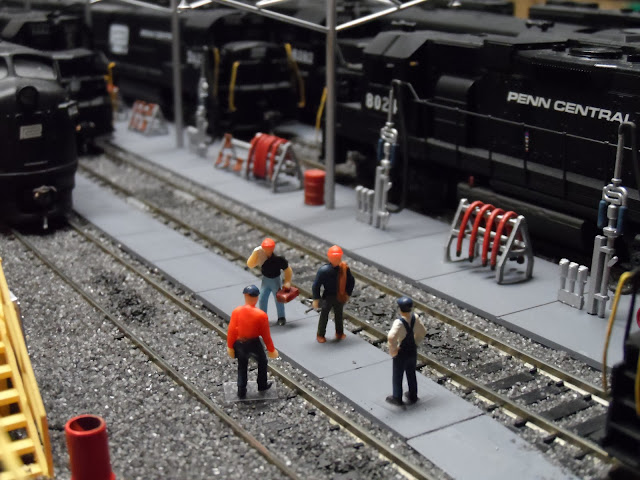
I recently added fifty 50 gallon barrels or drums to my layout thanks to this blog entry from the Model Railroad Luddite. I modified the procedure slightly and was quite happy with the results.
I started with this 50 pack of crimp sleeve connectors that I bought at a local home improvement store for under $5.00.
I put about 15 of the these sleeves on a wood skewer and sprayed them with rattle can paint. I'll be painting the insides with burnt umber using a Q Tip and sealing one end using Elmer's Glue.
Here's some of the new barrels laying trackside. Note the red barrel with the closed top. I dripped in some Elmers from the bottom with the sleeve sitting on the way paper. After the glue dried I painted the top with a brush and hobby paint from a craft store.
Discarded barrels at the engine terminal
Some full and empty red barrels near the car shop
A red barrel used as a trash can near the sand platform steps.
High quality barrels manufactured by Kings Port Steel wear the distinctive black with white center stripes. These are the preferred shipping container of Drywell Inks.
Another shipment of new barrels from Kings Port Steel. I CAed four barrels to a thin piece of cardstock to represent a palletized load. They can be stacked easily in a freight car or elsewhere.
For the KP Steel barrels I rattle can painted the crimps white. I let that dry for several days and used some painters tape I cut with a straight edge to mask the centers and then rattle can painted the crimps black.
Here's a fresh delivery from Kings Port Steel to Drywell Inks in P.C.C.M. 58
1/87th scale PC Ralph is on hand at the Terminal Yard Engine Shop watching the forklift driver stack barrels of lube oil from the Gulf River Facility in Kings Port NY
The Black & White Kings Port Steel barrels of this project compare in size very favorably with the red D.P.M. barrels that came with the Drywell Inks building kit.
All in all the project was economical, straight forward, and a pretty easy way to add 50 HO scale barrels to the layout. I plan to paint and add additional barrels around the layout as the year progresses.
Thanks to the Model Railroad Luddite for inspiring this project.
Thanks for reading!!!
See Ya Soon!!!


What a neat little project to enhance your layout. The details you added looked great! Nice work at the Patti-O paint shop!
ReplyDeleteThank you Sir Neal!!!
DeleteExcellent!!! You told me about the Model Railroad Luddite site and I liked his post about the wire crimp barrels as well. You did a great job on them! So, am I understanding correctly that you fill some barrels with Elmers Glue to create the impression of a sealed barrel? Love the pallet loads from Drywell Inks! I am definitely going to replicate those! Great job!!
ReplyDeleteThanks Ralph!! You are correct about the Elmers Glue. I put the newly painted barrels on a piece of waxed paper and depending on what I was after I either turned them upside down or left them with the flared end (bottom) sitting on the paper. I then drizzled in some full strength Elmers and made sure there was enough to seal the portion on the wax paper. I added a little weight like a piece of scrap wood to keep the barrels straight but that might not be necessary in all cases. Wait a few days and then pluck em off the wax paper.
DeleteThat's an excellent idea. I'll have to look for these on my next trip to HD. Great job John!
ReplyDeleteThanks Robert!! The Model Railroad Luddite deserves all the credit for this one.
DeleteNice little detail project to enhance your industries and rolling stock. I really like your palletized barrels for the boxcars and loading areas. All around fun and simple upgrade for the layout. Thanks for sharing!!!
ReplyDeleteThanks Brian!!!
DeleteGreat idea! I have two industries that are in need of barrels. This post will (eventually) be very helpful. I almost think of it as a sub-hobby to take items and repurpose them for the layout.
ReplyDeleteThanks Mark!! The Model Railroad Luddite get the credit for the idea. Glad you found this project useful for your layout.
Delete